
, Thursday 16 November 2017 - 21:45:27
Sign Installation
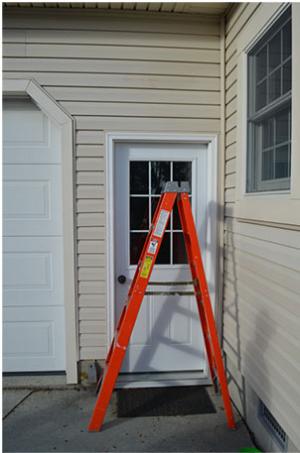
1. Get your tools ready.
2. Mark the center point of your sign with tape or pencil.
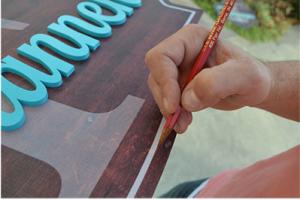
3. Mark a corresponding reference mark to the location your sign will be applied. Use a level and make additional guide lines to substrate.

4. Remove backing paper on the adhesive tape.
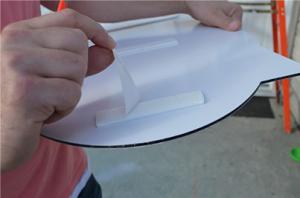
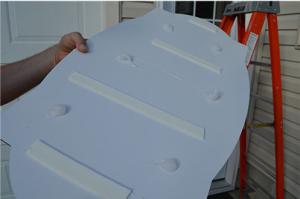
5. Apply supplied adhesive in uniform dots. The dots must be higher/thicker than the tape.
6. It should look something like this.
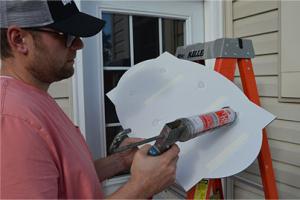
7. Line up your reference marks.

8. Press the sign firmly to the wall. Do not apply pressure until your reference marks all line up and you like the positioning. You have one chance!

9. Step back and enjoy!

DISPLAY CRAFT SIGNS ASSUMES NO LIABILITY, AND PROVIDES NO WARRANTY ON THE INSTALLATION OF YOUR SIGN.
OUR SYSTEM IS A SUGGESTED METHOD FOR A SEAMLESS INSTALLATION,
BUT NOTHING....WE MEAN NOTHING....BEATS A FASTNER (SCREW, NAIL, ETC.)
To download and print this tutorial, click here.
this content item is from Display Craft Signs
( https://displaycraftsigns.com/e107_plugins/content/content.php?content.112 )